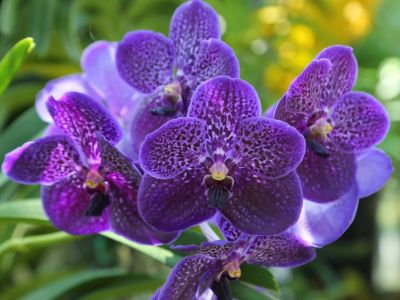
How to Propagate Vanda Orchids
While there may be various orchid propagation methods, the surest way to accomplish Vanda orchid propagation is to take a cutting from the tip of a plant with a healthy system of aerial roots. Look closely at the plant and you can see white Vanda orchid roots growing along a stem. Using a sharp, sterile knife, cut several inches from the top of that stem, making the cut just below the roots. Generally, it’s easiest to make the cut between sets of leaves. Leave the mother plant in the pot and plant the newly removed stem in a clean container filled with potting mix formulated specifically for orchids. Never use standard potting soil or garden soil, which will kill the plant. Water the baby orchid thoroughly until water drips through the drainage hole, and then don’t water again until the potting soil feels dry to the touch. This is also a good time to get the Vanda orchid off to a running start with a light application of a water-soluble, 20-20-20 fertilizer or a special orchid fertilizer.
Dividing Vanda Orchids
Dividing Vanda orchids isn’t generally recommended for hobbyists and is typically a job best left to the experts because Vanda is a monopodial orchid, which means the plant has a single, upward-growing stem. Unless you really know what you’re doing, you risk killing the plant.
Vanda Orchid Propagation Tips
Spring, when the plant is in active growth, is the preferred time for Vanda orchid propagation. As a reminder, never divide a small orchid or one that lacks a healthy set of roots.